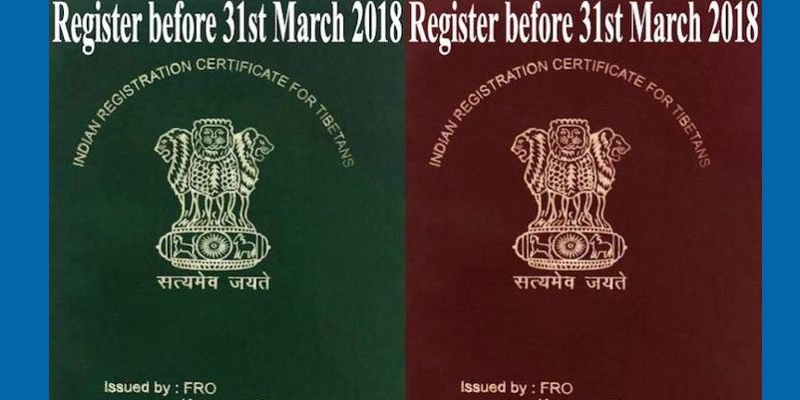
In order to alleviate public confusion regarding the process for online registraton of RC, here’s an illustration of a step by step guide through the complete process of the online registration.
Kindly note that the online application form can be filled from any location but once the application is completed, you have to submit the printed form to the concerned FRO.
Documents required:
- A copy of RC
- Bona fide certificate from respective Settlement Office or an Address proof
- A passport size photo with white background
STEPS (It is mandatory to fill the slots marked with red asterisk*)
Step 1– Visit the website of Online FRRO Form – FRRO India or Click here.
Step 2– Once you have landed on the homepage of the website, go to select the State and City/District of the place from where you have orginally registered your RC. Select ‘Registration‘ under the desired form as shown below.
Step 3– Start filling the form with your personal details including Name*, Sex*, Father’s Name*, Date of Birth* and Place of Birth*; Enter your Place of Birth* as mentioned in your RC. Choose the Manner of acquiring present nationality as By Birth and your category as Refugee.
Step 4– For those born in Tibet, enter your place of birth in the Address* and enter Tibet in the City* under the category Address of the last residence (Outside India).
In case of those born in India, fill in NA in the category Address of the last residence (Outside India)*.
Step 5- For those born in Tibet, enter your place of birth in the Place of embarkation and Tibet in the City of embarkation for India. Enter your date of arrival, mode of journey and purpose of visit to India as per your RC.
Important: Select Yes in the category Have you registered previously in India*. Enter your RC number/state/district/Visa type/Duration From and To. As shown below, choose Long Term Visa for the Visa type and enter your last extension dates in the Duration From and To.
 For those born in India, kindly enter NA in both the Place of embarkation and City of embarkation; Enter your Date of Birth in the Date of arrival slot and select Delhi in the Place of disembarkment/arrival in India.
Step 6 – Start uploading your scanned photos, documents as per the FRO’s General Instructions in the Photo and Document Upload page. Once uploading all the documents, click Save and Continue.
Step 7- Select and confirm your desired appointment date in the final page and continue on to print out your online application form. Submit the printed form to the concerned FRO on the selected appointment date and the concerned FRO will provide you with the Online RC Registration Certificate.


Leave a Reply